This week I glazed my freshly bisqued pottery with a bunch of lovely colours! My friend Sydney came with me again as the photographer.
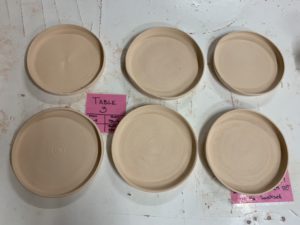
my six matching bisqued plates ready for glazing
The first step in glazing is to sand any rough edges off your pieces with a bit of sandpaper.
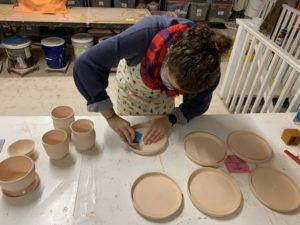
sanding plates with three vases finished
After everything is smooth to the touch, wiping all the pieces with a damp sponge removes the dust so the glaze has a smooth, clean surface.
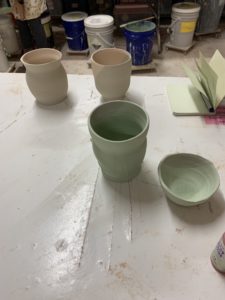
Now the fun part! Dipping your pieces in glaze or painting it on.
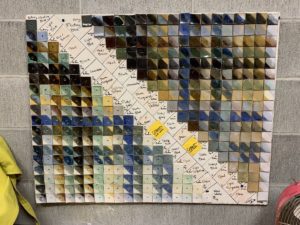
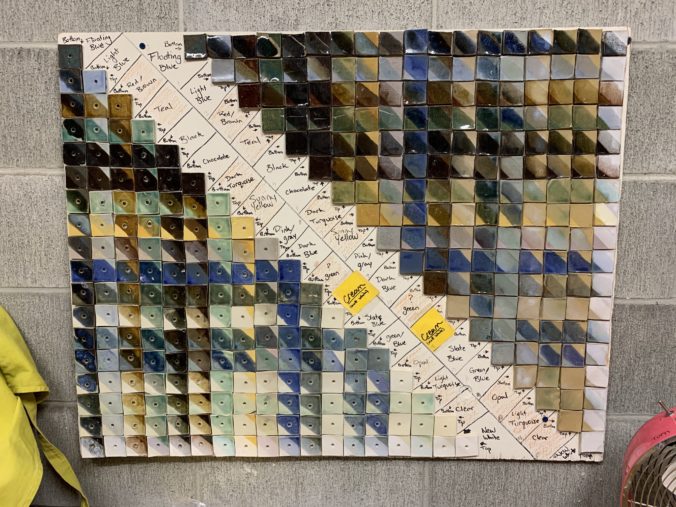
glaze wall, showing all finished colour combinations with two main types of clay
It is really important to stir buckets of glaze super thoroughly, or the particulate in the glaze will stay in the bottom and the coating of glaze will be thin and discoloured. Glaze should look creamy when it is properly mixed. When I first started pottery, I would be so mad after when I thought I was going to get a beautiful dark blue or green, and it would look thin and watery because I did not mix the glaze enough. The glaze also does not look anything like its colour when it is in liquid form. The next video shows stirring of dark blue, but the liquid glaze looks brown. The high heat of the kiln activates the chemicals in the glaze to show the beautiful colours.
I started with my plates. I decided to paint on three fish with glaze on three of the plates for decoration, one red and two blue. When you paint on glaze, you need to do three coats to ensure the glaze shows up in the colour you want. When dipping pieces, more glaze is absorbed so just one dip per colour is necessary.
My other three plates I decided to draw and then paint on salamanders.
Once I had the time consuming pieces finished, I started dipping my flowerpot, 3 small pots and bowl.
Two pieces here have been double dipped and two are waiting for their second coat.
nearest pieces double dipped, far two pieces waiting second coat
One salamander will be blue and one will be red on each plate.
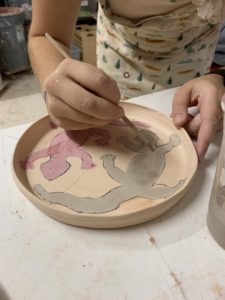
finishing blue glaze on salamander plate
Then I dipped my plates in opal, a clearish whiteish glaze that will make the rest of the plate smooth and give it a white colour while still letting my painted designs show through.
You must leave your pieces to dry before touching them or the glaze will come off on your hands, leaving a blank spot on your piece. Thinner pieces need longer to dry as there is not as much to soak up the glaze. I enjoy dipping my pieces in two colours, so you get a bit of both glaze, and the combination in the middle. Once your pieces are finished, you must wipe the bottoms clean. If you left glaze on the bottom of your pieces, they would fuse to the kiln.
This batch is now ready for the kiln! I keep a record of which glaze combinations I use in a little book so when they come out of the kiln, I know which combinations I love and which I do not like as much for the next time I am glazing. My small bottle of red glaze I bought for decoration, as Ann does not have any red glaze (apparently very difficult to make). All of these pieces will be food safe, dishwasher safe and oven safe! I tried some new combinations this week, I am excited to see how they turn out!
I used the same editing software iMovie as last week, and the same great jazz tune by KieLoKaz from Free Music Archive.

Leave a Reply
You must be logged in to post a comment.