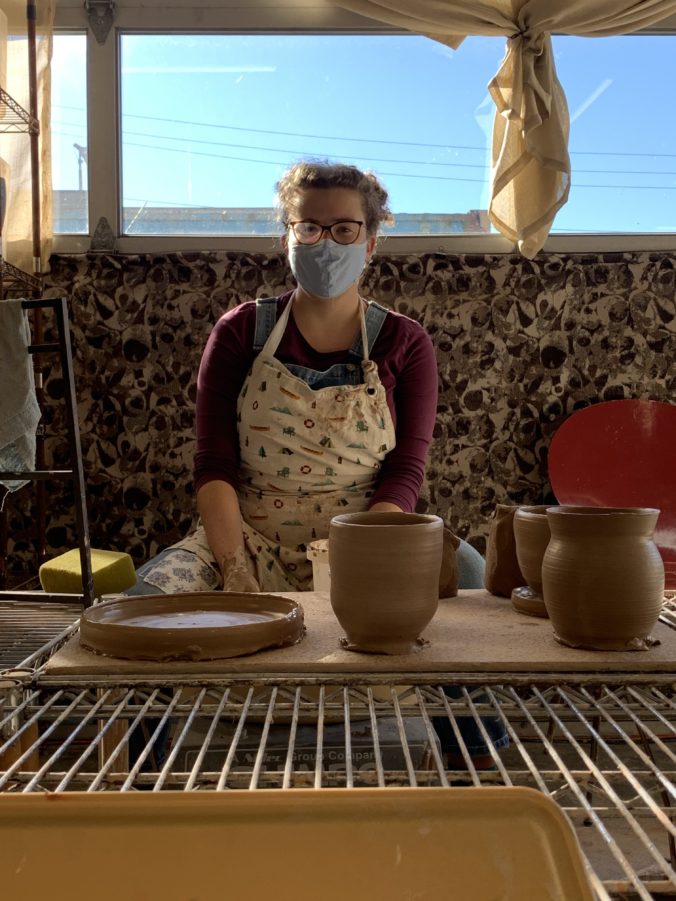
This week I started some new pieces! It was a beautiful sunny day on Monday, and my good friend Sydney came to the studio with me to record a few videos of myself throwing pottery. I warmed up first by making a few flower pots, then moved on to making 6 plates for Goal 1 of my Inquiry.
I bought a new bag of recycled clay from Ann. I prefer recycled clay, it is the result of all the scrap pieces from the studio that Ann mixes together, so it has a nice light brown colour. It is also half the price of a bag that is one colour. You can buy white clay, a darker brown clay and a bright red/terracotta coloured clay as well.
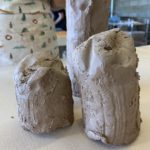
Three starting pieces of recycled lump clay.
I started off by portioning my chunks of lump clay by cutting them with wire and weighing them on a scale. You can weigh an old finished piece you have and then add a bit to get a ballpark idea of how much lump clay you need. I know that my flower pots typically weigh around 1.5lbs when in the starting stage because I make them so often, but I needed to weigh a finished plate to see that I would need about 2lbs of lump clay for my new plates.
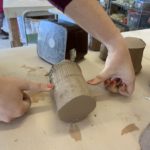
Portioning lump clay with wire cutter.
The next stage is wedging. The main reason to wedge your clay is to remove air pockets, which gives it a uniform consistency. It also makes the clay more pliable.
Once you have wedged all your chunks of lump clay that you want to throw in your session, you can move to your wheel. These wheels are super quick to set up.
Snapping the two main piece of the wheel together.
Securing wheel with clips.
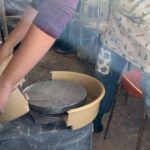
The trickiest part of throwing pottery in my opinion is centering your clay on your wheel. This takes a ton of practice, and I was not consistently centering my clay for about the first six months of throwing. To start, you throw your lump clay as close to the middle as possible, but with some force so that it suctions onto the wheel. Add a bit of water to your piece, wet your hands well and crank up your wheel speed pretty high. Next, you anchor your elbows on your thighs, lean over your wheel, and bring the clay up into a column trying to keep as steady as possible. Push your thumbs slowly down until it is at the desired height. At this point you are mostly centered. To finish, push down from the top with one hand, and push towards the center from the side with your other hand with equal pressure. Knowing when it is properly centered is a feeling and just takes practice. If your piece is not centered, it is much more difficult to throw, as your clay is unevenly distributed. This makes it hard to make a symmetrical piece and the chance of it shearing off increases, as half your piece will be thinner. I’ve linked a great video by Earth Nation Ceramics that talks about how to center clay like a pro. This next timelapse video is an overhead view of myself centering a lump.
Now we are at the fun part, pulling! After my clay is centered I slow my wheel down quite a bit, as the faster I go at this stage the more likely I make mistakes. The better you get the faster you can go when pulling your clay up and out to the desired shape. When making something like a mug, flower pot, bowl, etc you start by pushing one finger into the center of your centered clay, down until you are about a half inch from the wheel base. Push your finger slowly outwards until you have enough room to work. Now you are slowly pulling your clay into its desired shape. Keep pressure on both sides of the piece as you pull. Make your piece as high as you want first, and then increase the diameter. It is much more difficult to bring up a wide piece than fatten out a tall skinny piece. Earth Nation Ceramics has another great video on how to pull. This flowerpot timelapse below is a bit more complicated because I am throwing it with a dish attached to the pot. A little piece of the clay around the outside is pushed down so I can shape a dish later and have it attached to the main pot.
Be careful not to make it too thin, or something like this will happen!
Mistakes happen in pottery, and its all about having fun and practicing. I turned that pot into a small bowl instead, and I save the piece that sheared off. Once it has dried out a bit, I can rewedge it with some other leftover pieces and start a brand new piece! After you have finished pulling your piece and you are happy with it’s shape, it is time to remove it from the wheel and place it on your cork board to dry out a bit. First you remove any water that is in the bottom of the piece. If you leave water inside your piece, over the next day the bottom of your piece would disintegrate back into watery clay, leaving you with a gaping hole or the collapse of your whole piece. Add a lot of water along the wheel to the outside of your piece, and then take your wire cutter and carefully run it along the surface of the wheel underneath your finished piece. You have to do this a few times, until you get water between the pottery and the wheel, to slide it off the wheel. Carefully pick your piece up holding it from the bottom and place it on your cork board. Done!
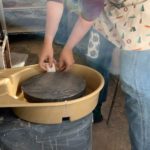
When throwing a plate, the method is a little different and much quicker. You still need start by centering your clay on your wheel. Then using the edge of your hand by your pinky finger, you slowly and firmly push down on a radius tangent until your plate is close to the desired size and thickness. A small tool called a rib is then pressed firmly to the plate back and forth at least 5 times from center to edge to smooth your plate and remove any air bubbles. After you are happy with the thickness and size of your plate, you can add a raised rim by pushing your thumb along the edge of your plate to the desired height.
I made three normal flower pots, one pot with an attached dish, one small bowl and six dinner plates in my two hour session on Monday. Next week, the pieces will have dried to the “leather hard” stage. I will be able to finish the pieces with a variety of tools to be ready for their first trip to the kiln.
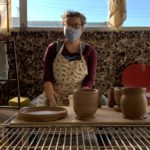
Midway through the afternoon, with a few finished thrown pieces.
Editing Video and Audio:
This week while preparing this post I learned a lot about editing video and audio, and I found some great resources to help. I used iMovie as I use a MacPro laptop. To convert my videos to a timelapse, I found a great article by Pro-Lapse to explain the process. A video from Maria Schlossberg showed me how to take a picture from my video in a freeze frame. VideoZeus explains how to merge video clips together, as I wanted to take a middle chunk out of one video but make my timelapse the same speed on both sides. Finally, I wanted some funky jazz music for the background of my videos! After learning so much about Copyright and music from the movie “A Remix Manifesto“, I chose to find an open source music site. Free Music Archive was inspired by Creative Commons and the open source software movement, and has thousands of songs to pick from a variety of genres. You can “tip” your artist if you want to pay, and every artist has a bio and links to their page to learn more. I chose this song by KieLoKaz.

Very cool and super detailed. I feel like I could make a flower pot, too!