
This week during my studio time, I trimmed all of my pieces that I threw last week! Trimming is when you cut or “trim” your pieces until they are the desired shape and size. Pottery at this stage is called greenware, and the clay is in the “leather hard” phase, so they have enough integrity to withstand shaping by metal tools. My lovely partner Graydon accompanied me this time to record my work at the studio. After you throw your pieces and they have dried some, Ann will put them in large tupperware containers so they all remain at the same level of hardness and prevents them from drying out too much.
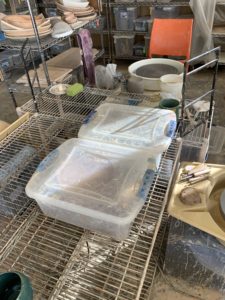
two large tupperware containing pieces thrown last week
There are a large variety of tools to use to trim your pieces.
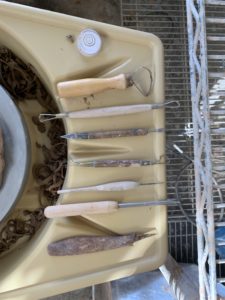
selection of trimming tools
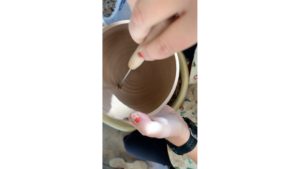
I started out by trimming a pot. I always start by trimming the bottom first. A small level and some anchor clay helps make sure the pot is evenly balanced. I trim the bottom of excess clay and shape it towards the body of the piece with the wider mouthed tool. I then carve my initials and a flower stamp into the bottom of the piece for identification.
Then the pot is flipped over and anchored again. The inside and outer side are trimmed. That looks finished to me!
The next piece I trim is one of my 6 plates. For plates, you roll the anchor clay out into a log, and press it onto the wheel in the shape of the outer rim of your plate. Your plate can then be pressed into the anchor clay. I smoothed out the bottom and edges of the plate with the wide mouthed trimming tool.
I continue to trim the plate by hollowing out the top side of the plate with a variety of tools. Trimming plates can be a little mesmerizing, as coils of clay are trimmed off as you carve a spiral. I like plates to have an pronounced lip, so if you are eating something with sauce it does not spill off your plate!
Here is a comparison of what a trimmed versus untrimmed plate looks like. You can see clean edges and the beautiful spiral design on the trimmed plate, whereas the untrimmed plate looks much more rough.
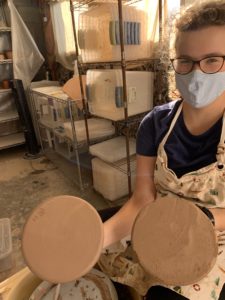
left trimmed, right untrimmed
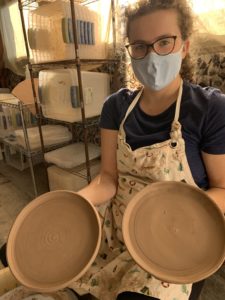
left trimmed, right untrimmed
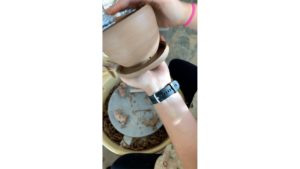
My flowerpot with the attached dish is the next piece I trim. I am really happy with how this piece turned out!
I punch out 3 small holes so that water can drain from the main pot into the attached dish.
beginning of drainage hole
finished drainage hole
Overall, I trimmed 6 plates, a small bowl, a flowerpot with an attached dish and three small pots.
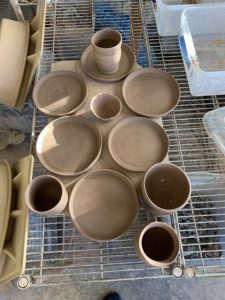
finished pieces
All of these pieces will go into the kiln this week to be bisqued! It will baked until it is strong enough to be handled, but porous enough that it will soak in glaze. Sometimes I also carve designs into my greenware pieces, but that often takes a long time and I had a lot of pieces I wanted to trim today.
I used the same editing software iMovie as last week, and the same great jazz tune by KieLoKaz from Free Music Archive.

Leave a Reply
You must be logged in to post a comment.